Getting started
To open an existing git project in LithiumGit follow the steps below:
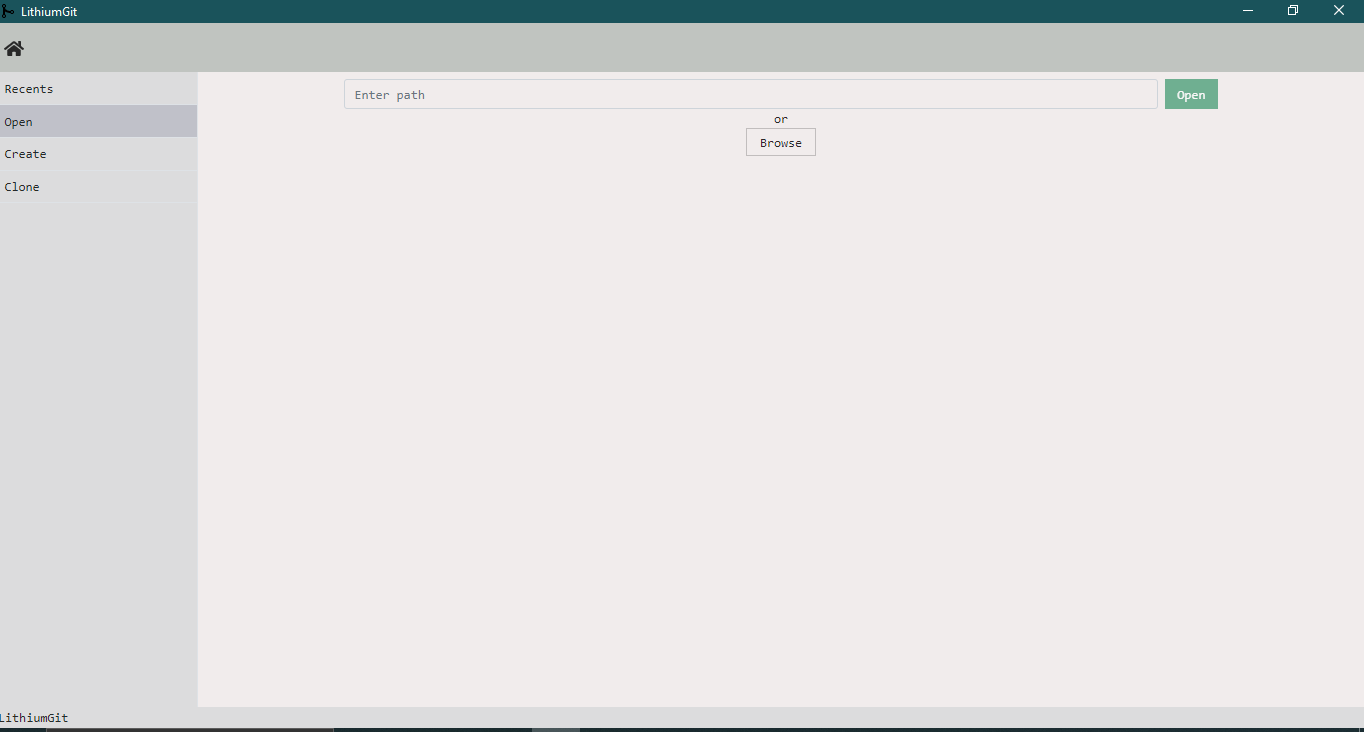
Select the Open tab and click Browse.
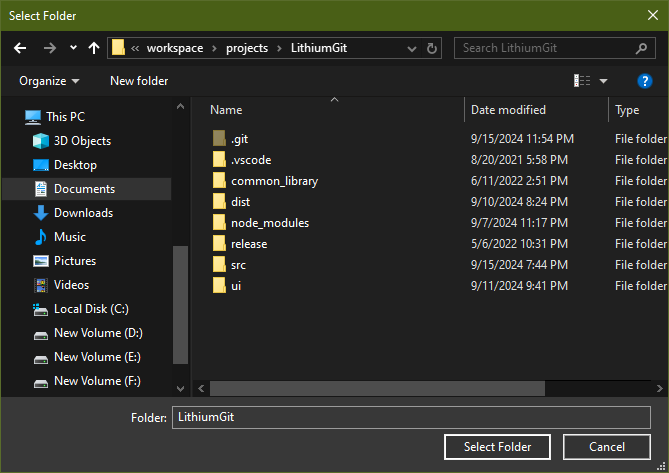
Navigate to the project folder and select it.
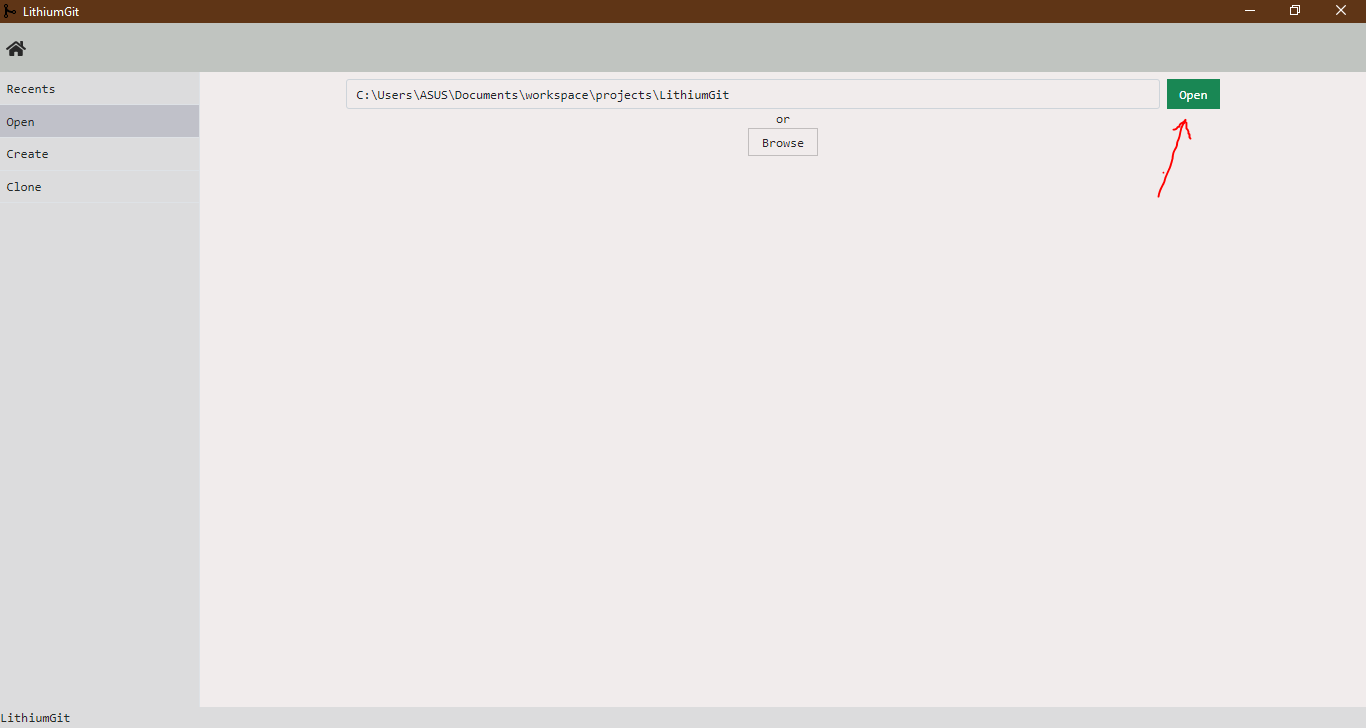
Click Open.
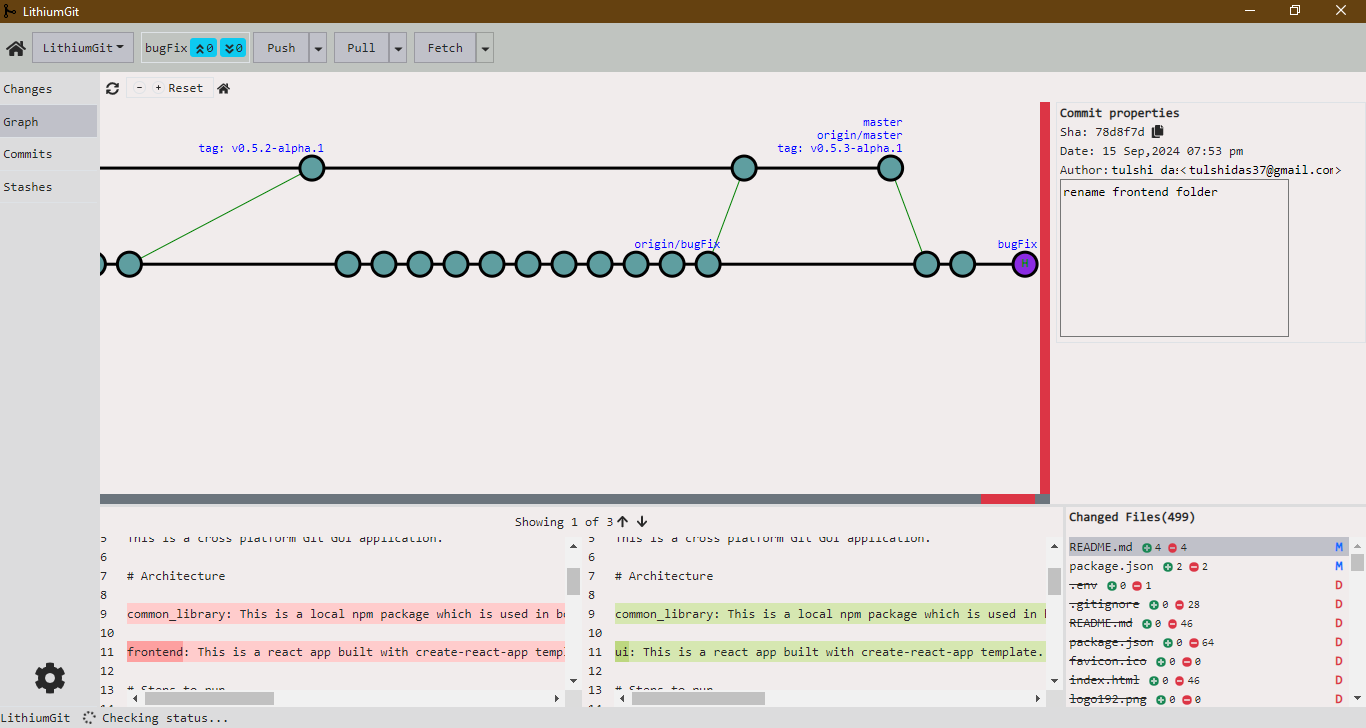
The project opens and the graph view is displayed.
View local changes
After opening a git project in LithiumGit click to changes tab.

Local changes can be viewed here. User can commit or amend the changes.
The Modified tab lists the files that differ from the index. Select a file to see its side by side diff, where the left pane is the index and the right pane is the working directory. The counter at the top right shows how many changes the selected file has, and the arrows beside it move to the previous or next change.
Changes can be staged either as a whole file or hunk by hunk. The + button above the file list stages the selected file completely, and the revert button beside it discards the local modifications of the file. To stage a single change instead, click the + marker shown in the gutter beside that change in the working directory pane. Only the hunks staged this way are moved to the index, so a file with several unrelated edits can be split across separate commits.
The working directory pane is editable. The file can be corrected right in the diff — for example to drop a leftover debug line before staging it. Press Ctrl+S to save the edit to the file on disk.
Staged changes
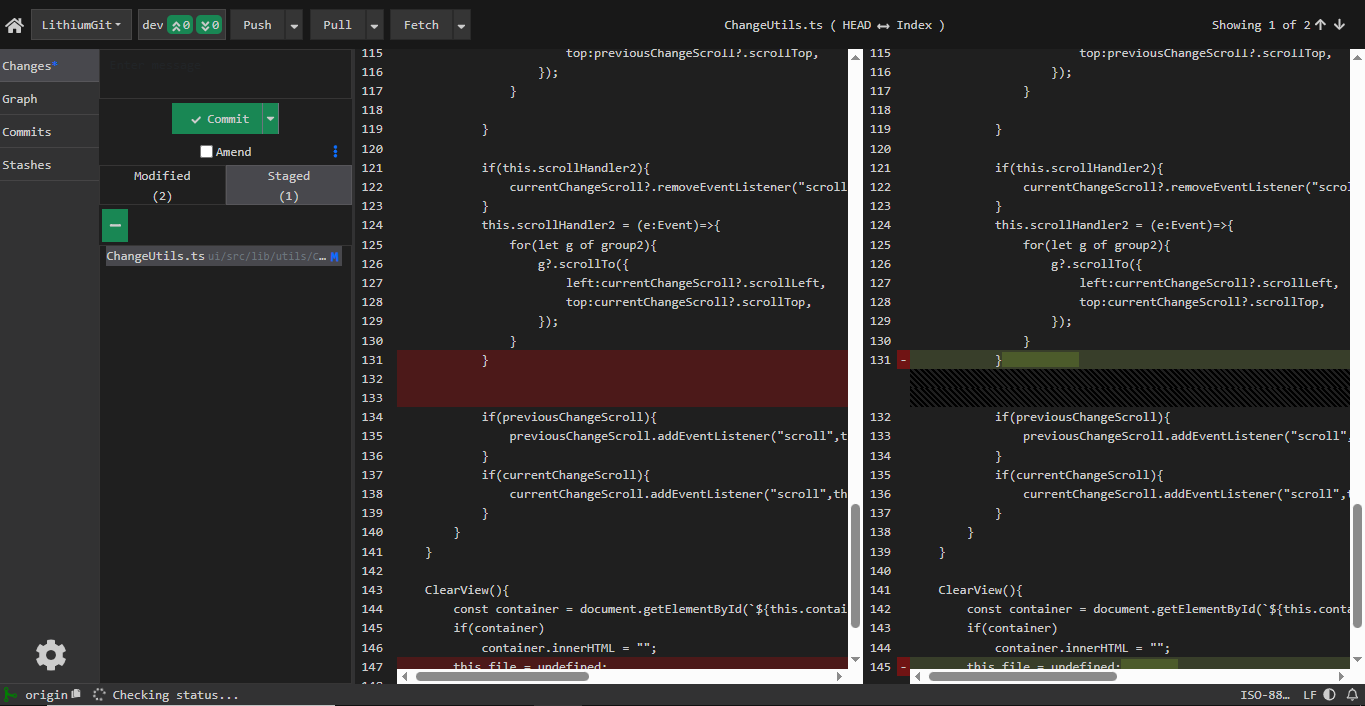
Staged files are listed under the Staged tab. The diff of a staged file compares HEAD with the index, so it shows exactly what the next commit will contain.
Unstaging works the same way as staging. The − button above the file list unstages the whole file and moves it back to the Modified tab, while the − marker in the gutter beside a change unstages just that hunk.
When some files are staged, only the staged files are committed. If nothing is staged, all the modified files are committed together.
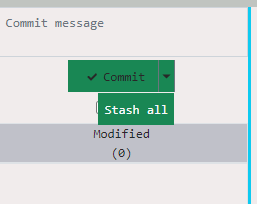
There is a caret icon beside commit button. On click this icon "Stash All" menu will appear. On click this option all local changes will be moved to stash list.
Resolve conflicts
When a merge, rebase or cherry-pick leaves conflicting files, a Conflicts tab appears in the changes view along with Modified and Staged. Select a conflicted file to open it in the conflict editor.
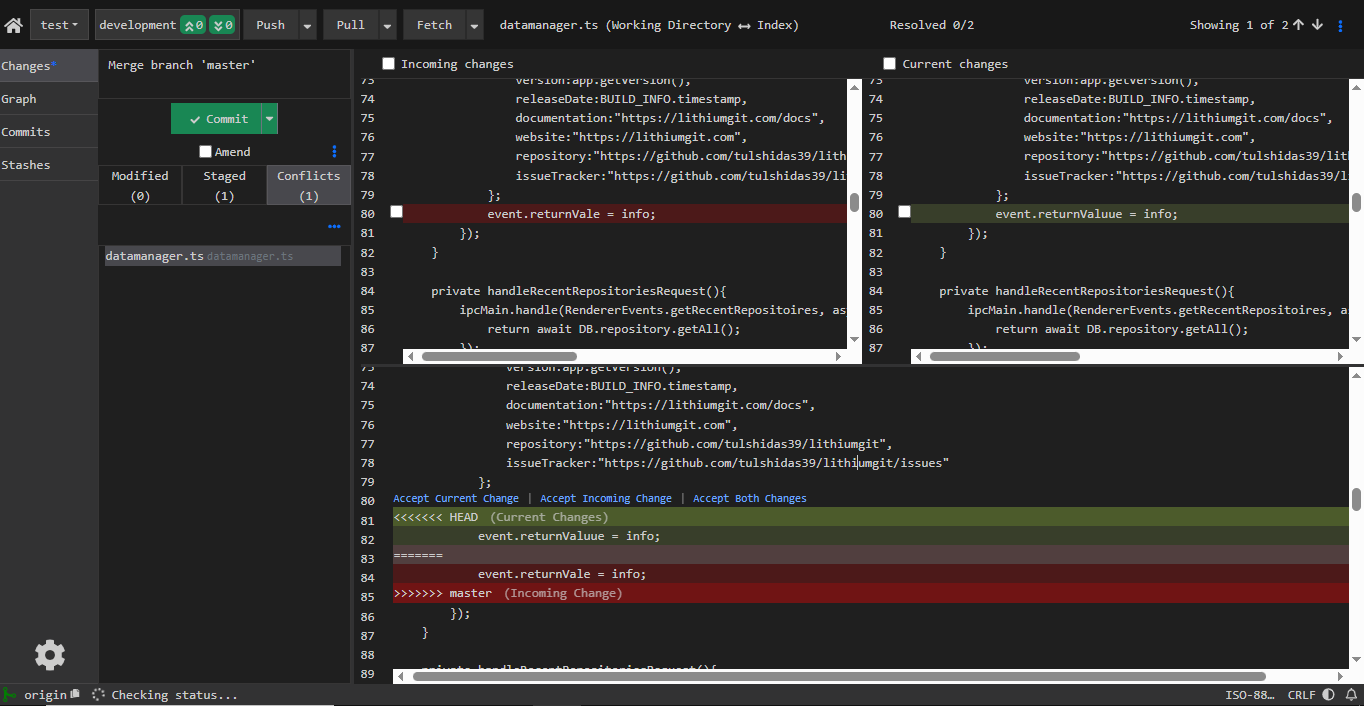
The upper part of the editor compares the two sides of the conflict side by side — Incoming changes on the left and Current changes on the right. Ticking the checkbox beside a conflicting block takes that side into the result, so a conflict can be resolved without editing the text by hand.
The lower pane shows the merged file itself with the git conflict markers. Above each conflict block the Accept Current Change, Accept Incoming Change and Accept Both Changes actions apply the corresponding resolution. The file stays editable, so a resolution can also be typed in directly.
The Resolved counter in the top bar tracks how many of the conflicts in the file have been settled. Once they are resolved, an Apply button appears in the top bar — click it to mark the file as resolved. Repeat for each conflicted file, then commit to complete the merge.
Import/Export changes
Use Import/Export Changes to share local work as a patch file or apply a patch file from another developer.
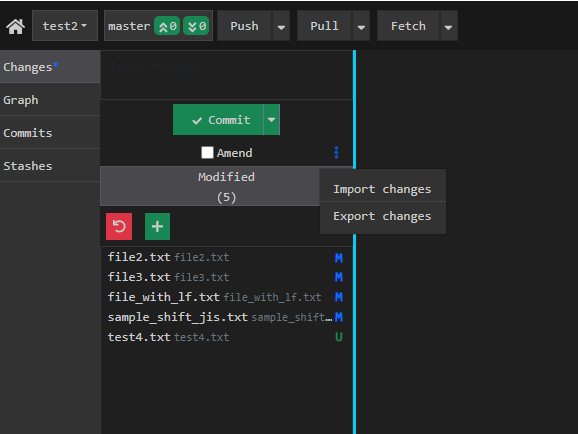
Open the Import/Export Changes action from the changes workflow.
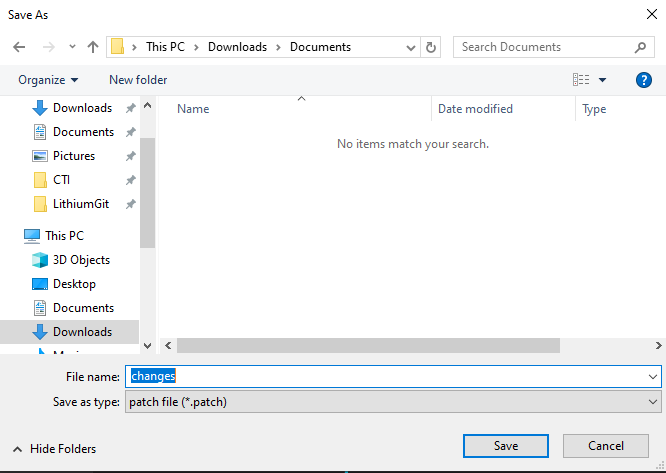
Save them as a patch file.
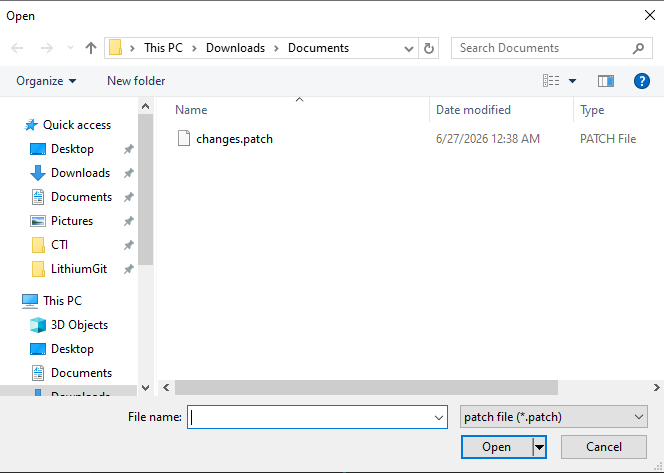
To import changes, select the patch file and apply it to the current working tree.
Graph
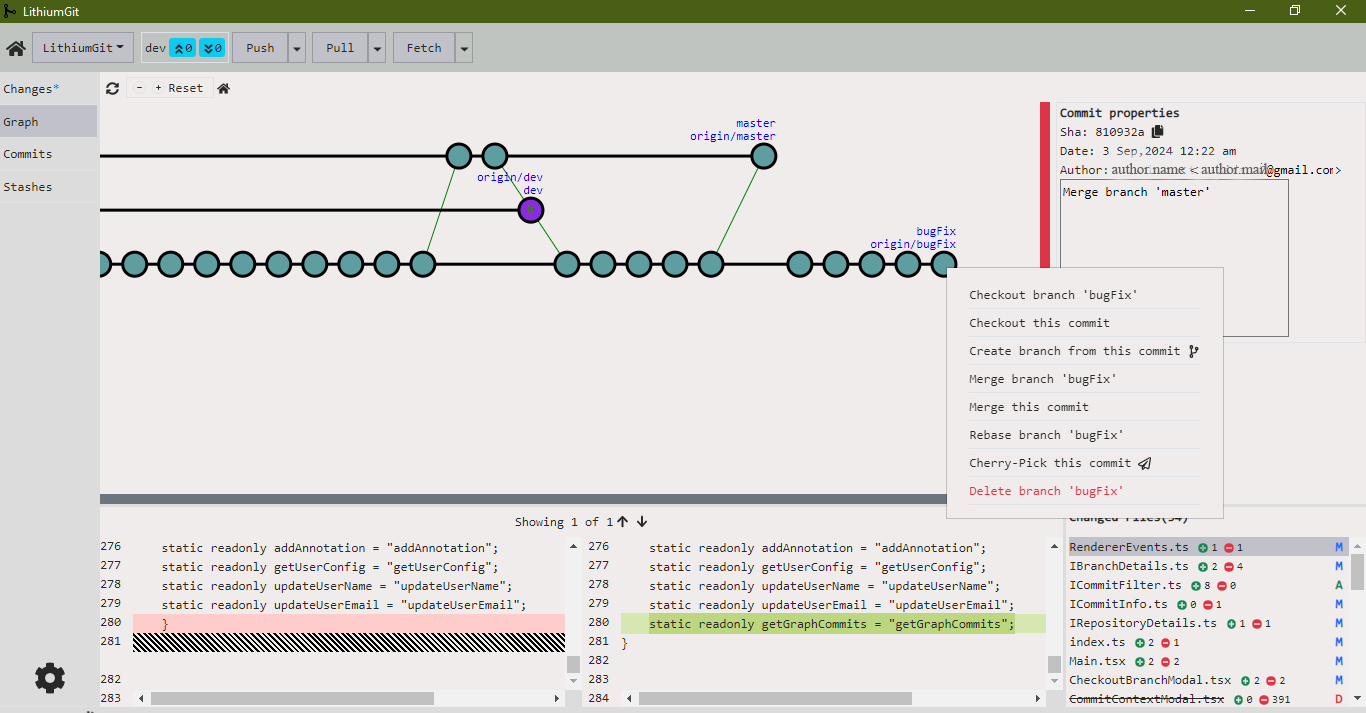
The interactive graph provide the overview of overall state of the change history. Viewing change details of a specific commit,merge, checkout, rebase, cherry-pick, creating branch etc. regular git actions can be performed from this view.
Commits
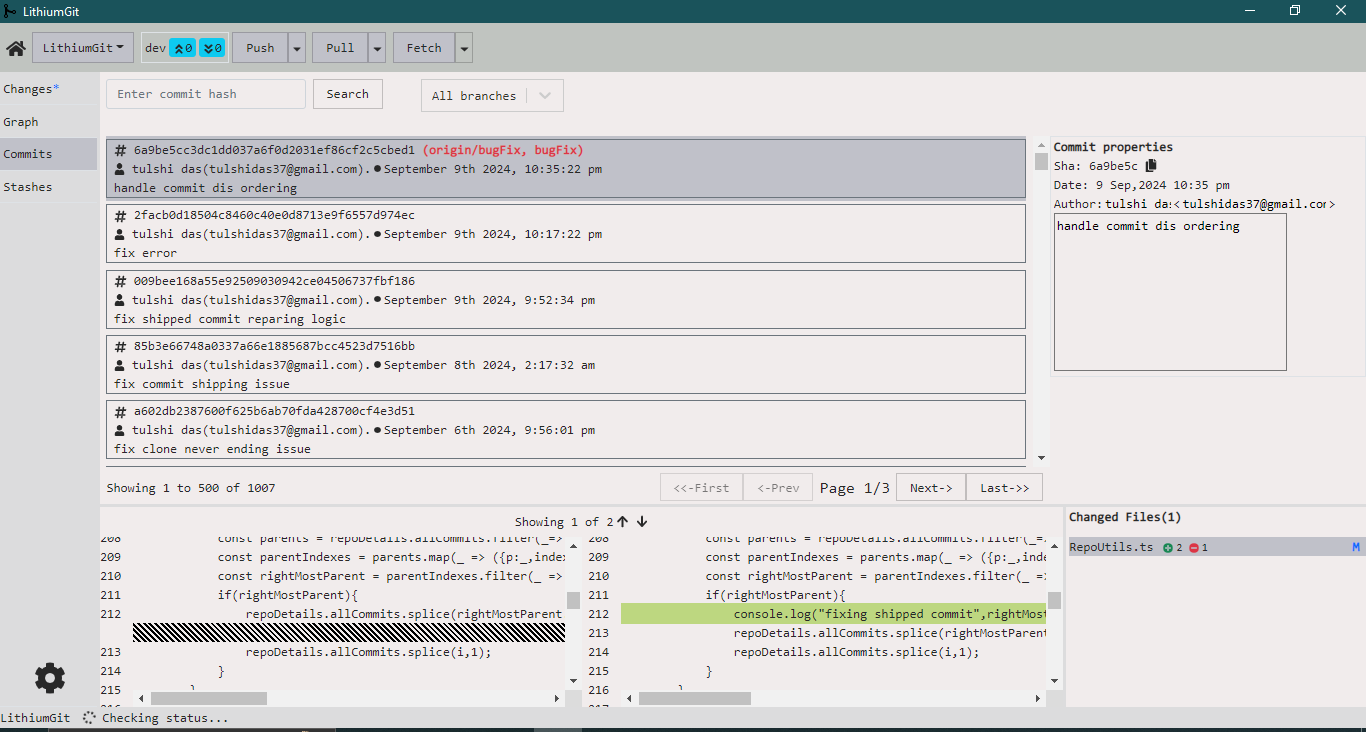
All the commits are listed here as it is in git log result.
Stash list
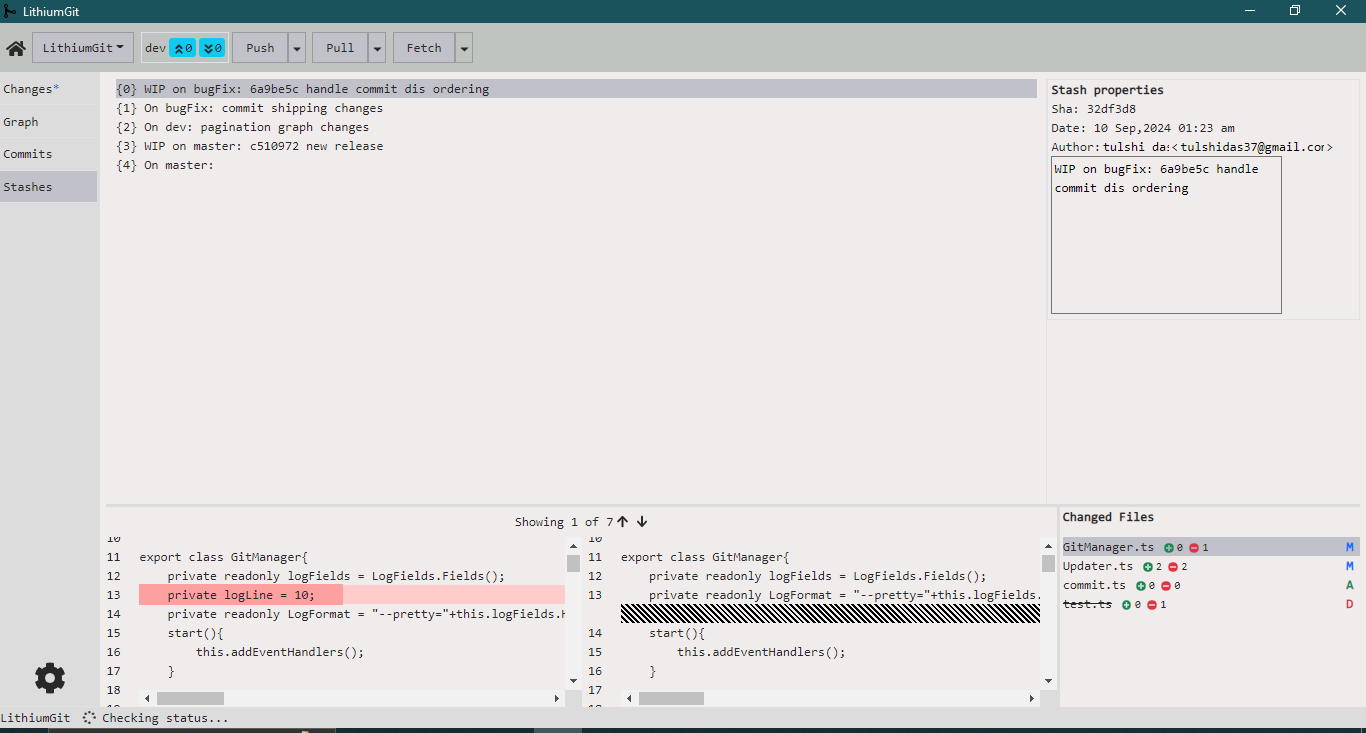
All the stashes are listed here. Stash actions such as pop, apply and delete can be performed here from this view.
Config
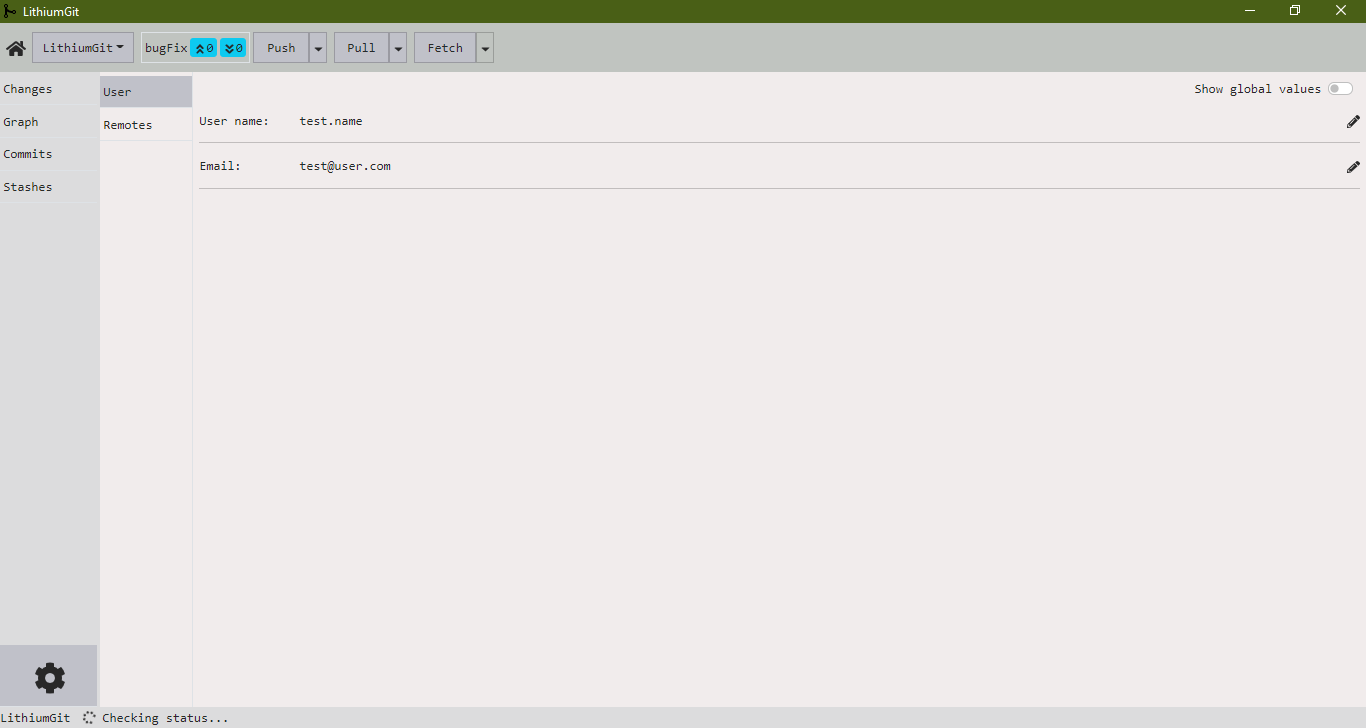
User configuration can be viewed and edited from this ui.
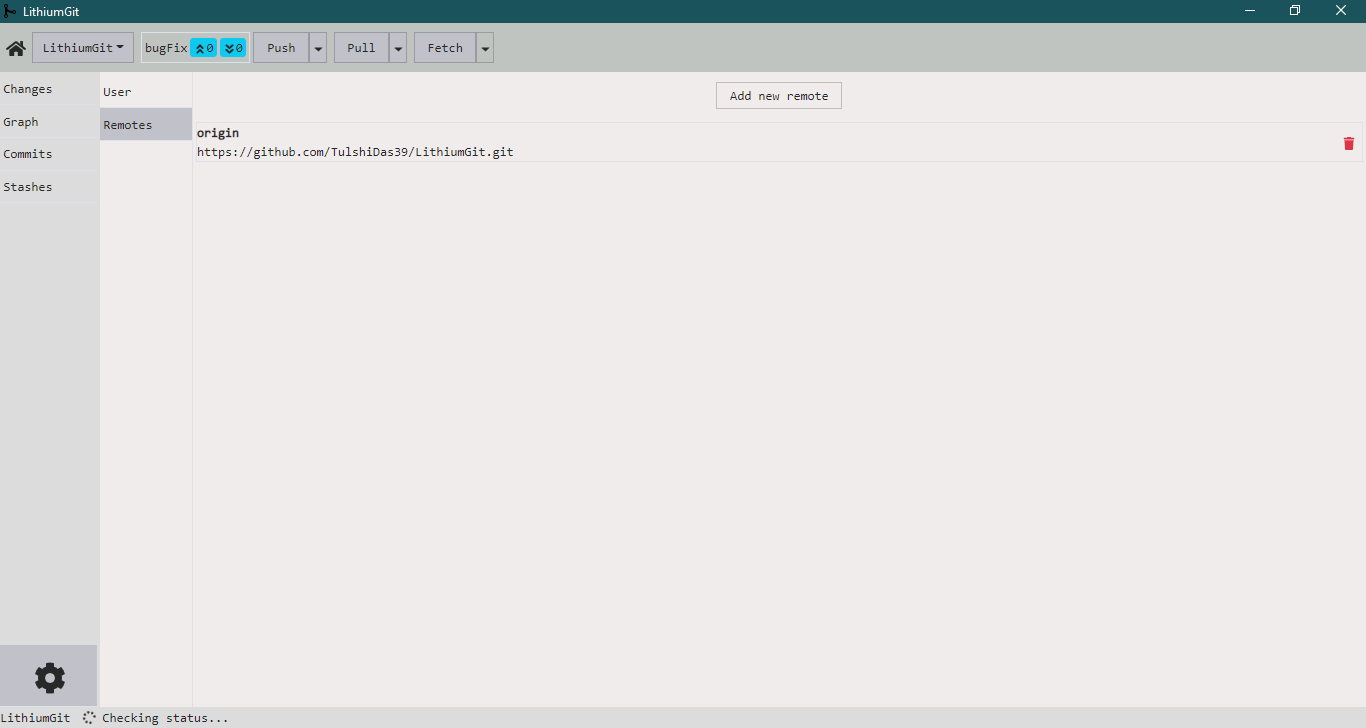
Remote(origin) url can be viewed, new origin can be added or deleted from this ui.
Clone Repository
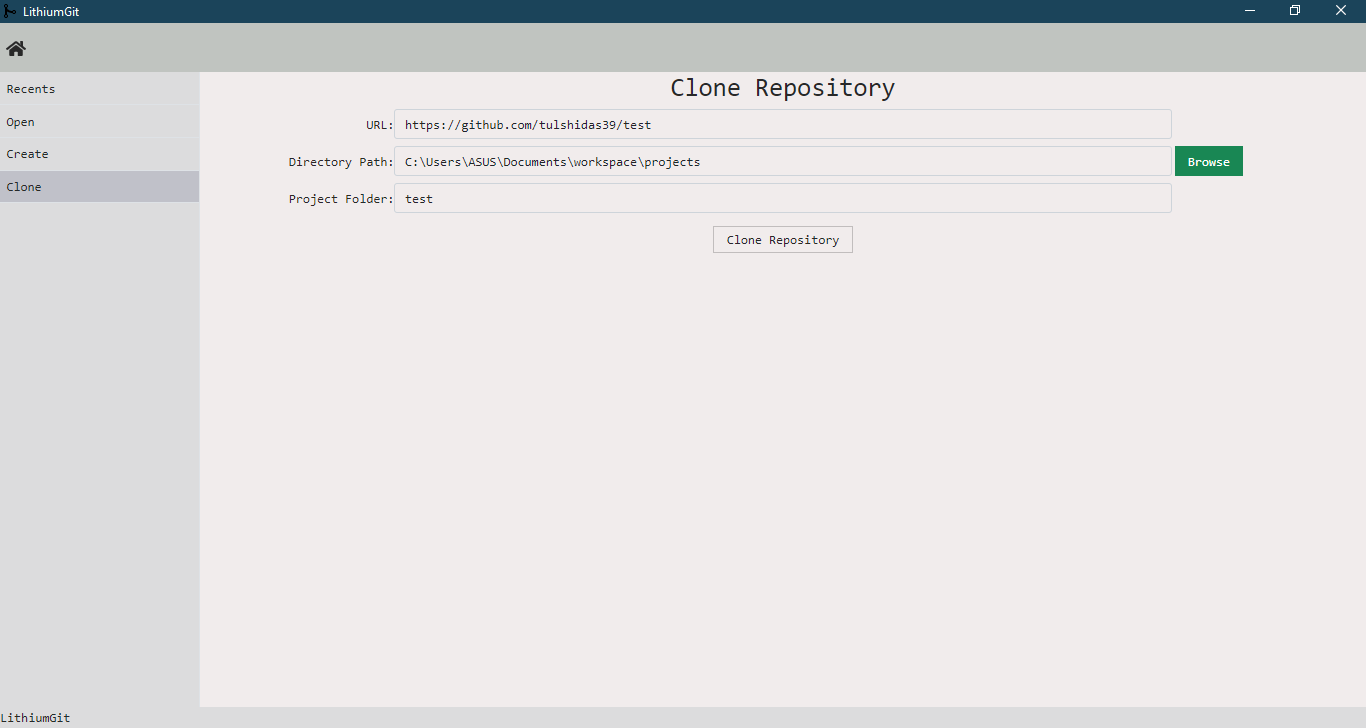
Any git repository can be cloned from this view.
Recents
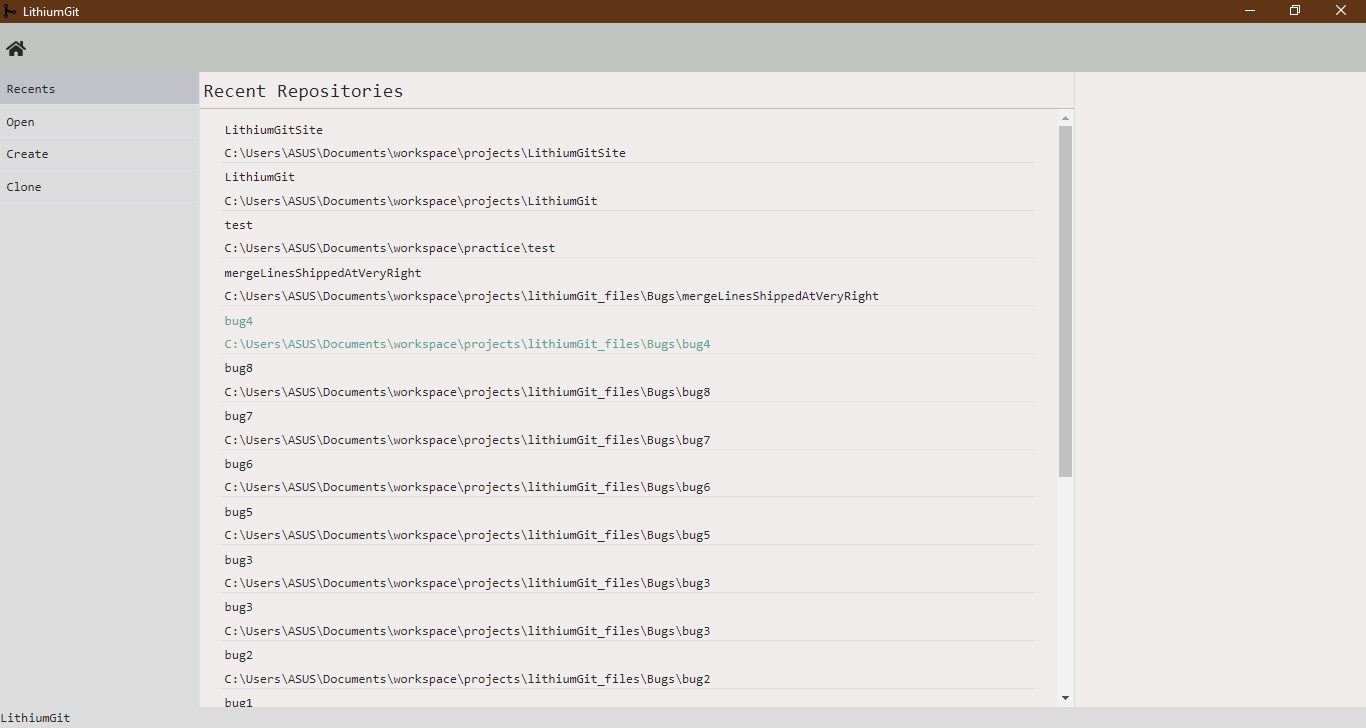
Recently opened projects are listed in this view.
Create git project
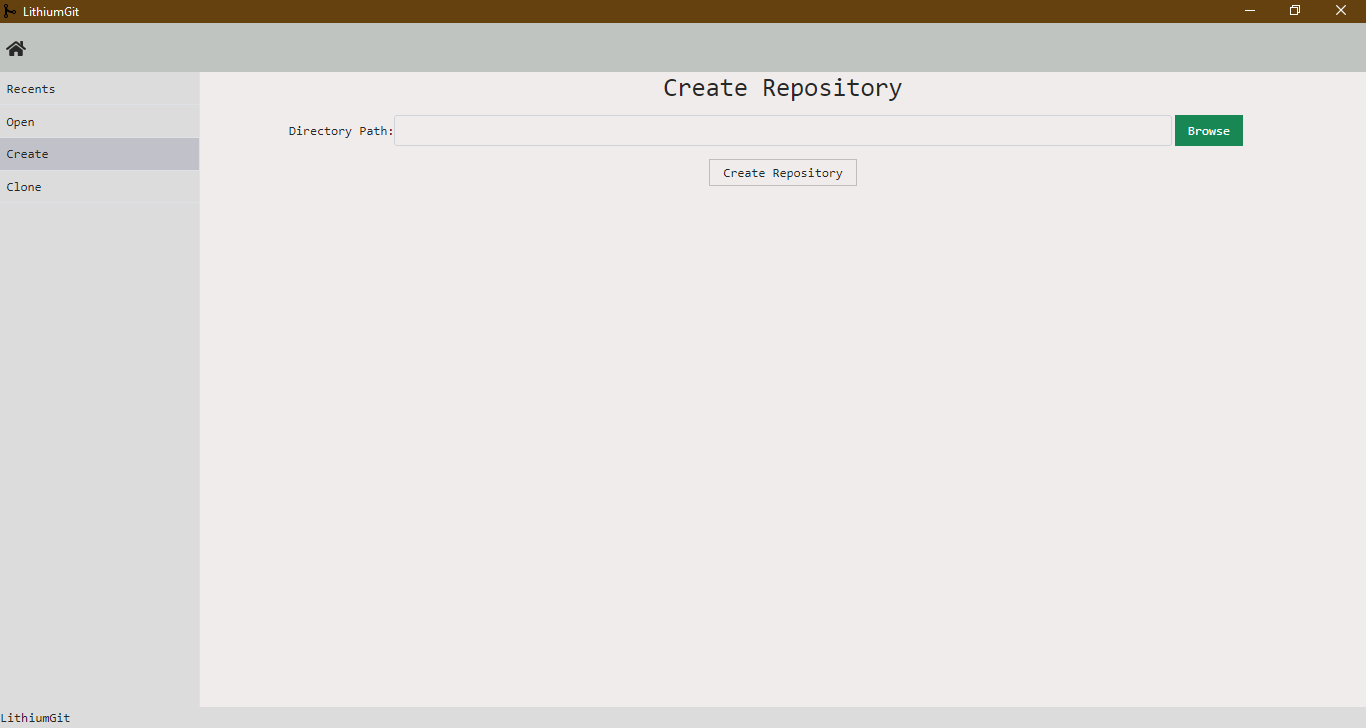
An empty git project can be created as it is created by "git init" command.